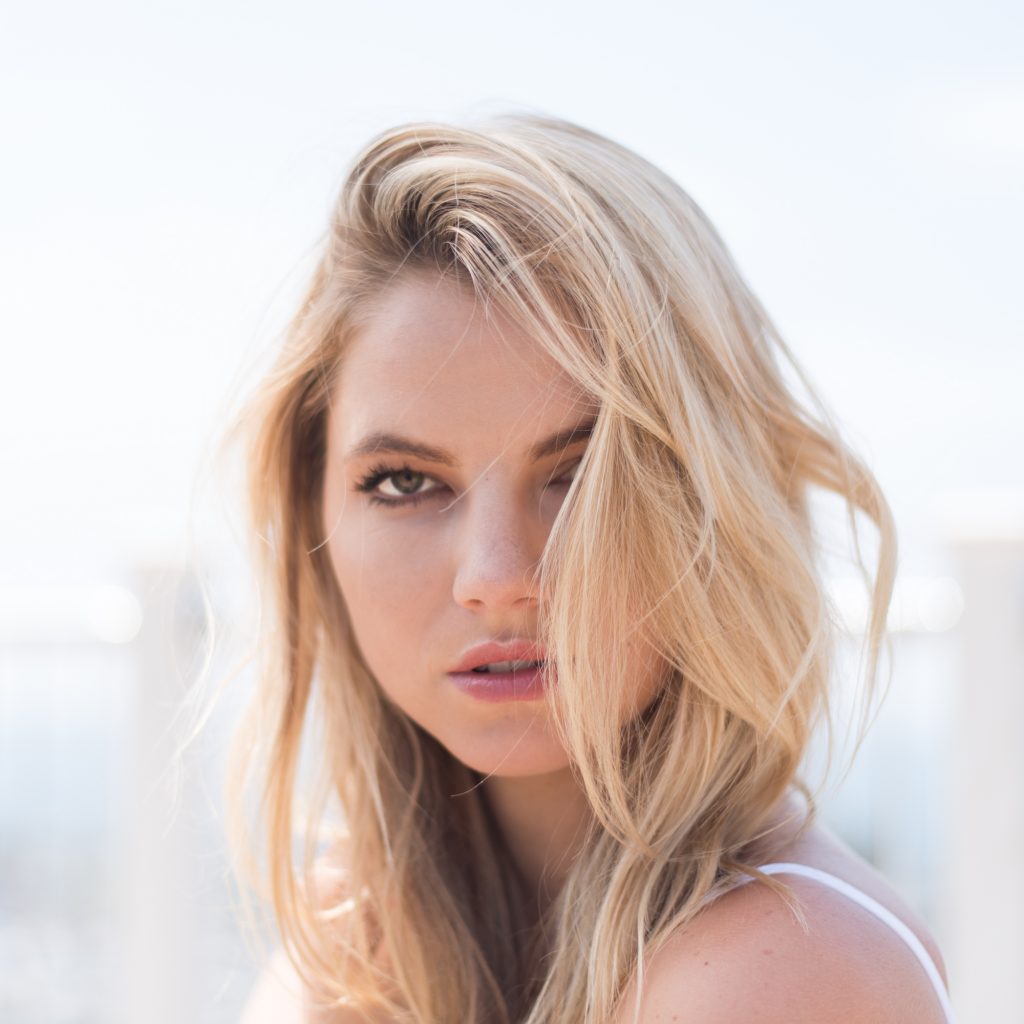
Soft, Natural Smokey Eye
by Elissa Gutierrez at Blown Away Beauty Bar
When it comes to a smokey eye, so many ladies take it too far; Or they don’t think to do it in a more subtle way. Plus, not all eye shapes are the same. So there needs to be a slight difference based on the shape of one’s eyes. For example, the model we are working with in this tutorial, her eyes are deep set and wide, which requires a subtly different technique than large eyes. That being said, anyone can do this technique to achieve a natural smokey eye.
To create the natural smokey eye look, Elissa starts with a warm brown palette. BTW don’t you have shadow envy right now? I did.
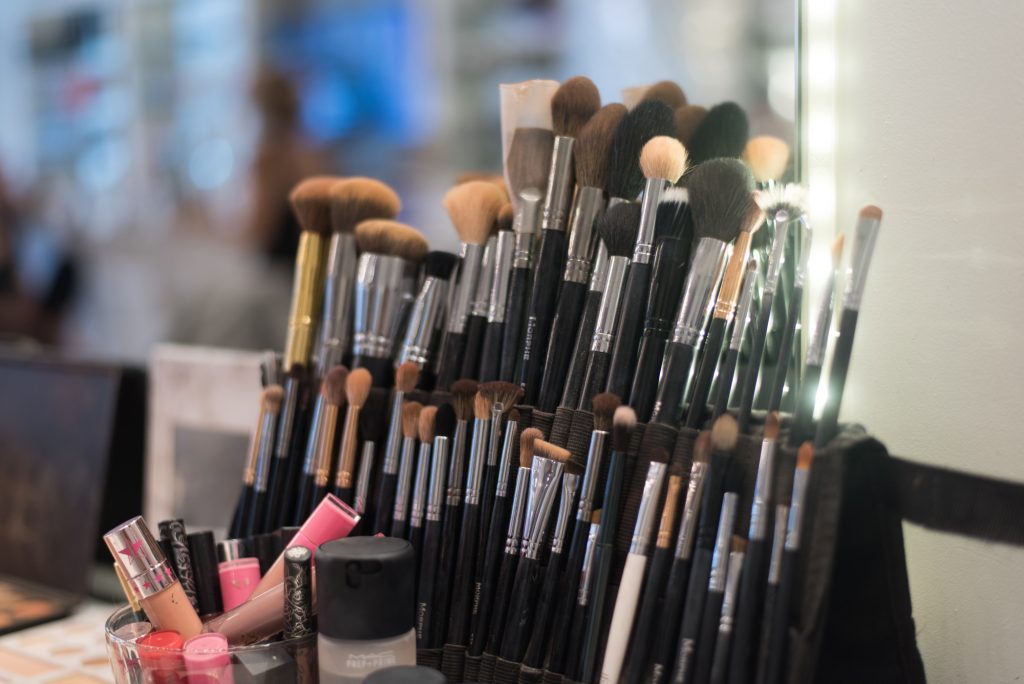
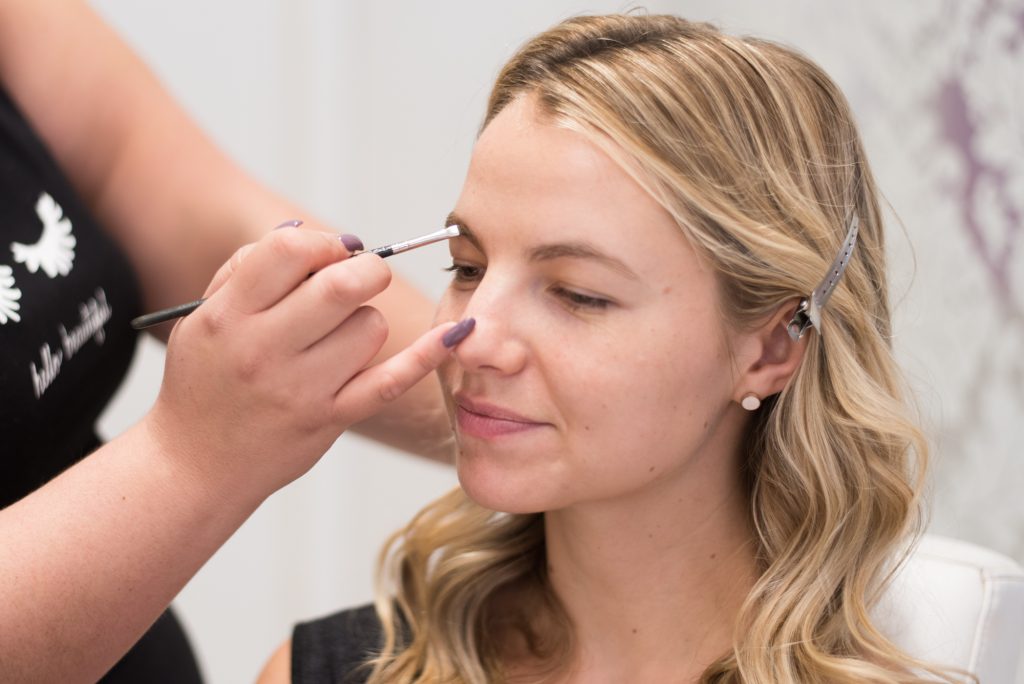
First prep and fill in the eyebrows, they frame the face.
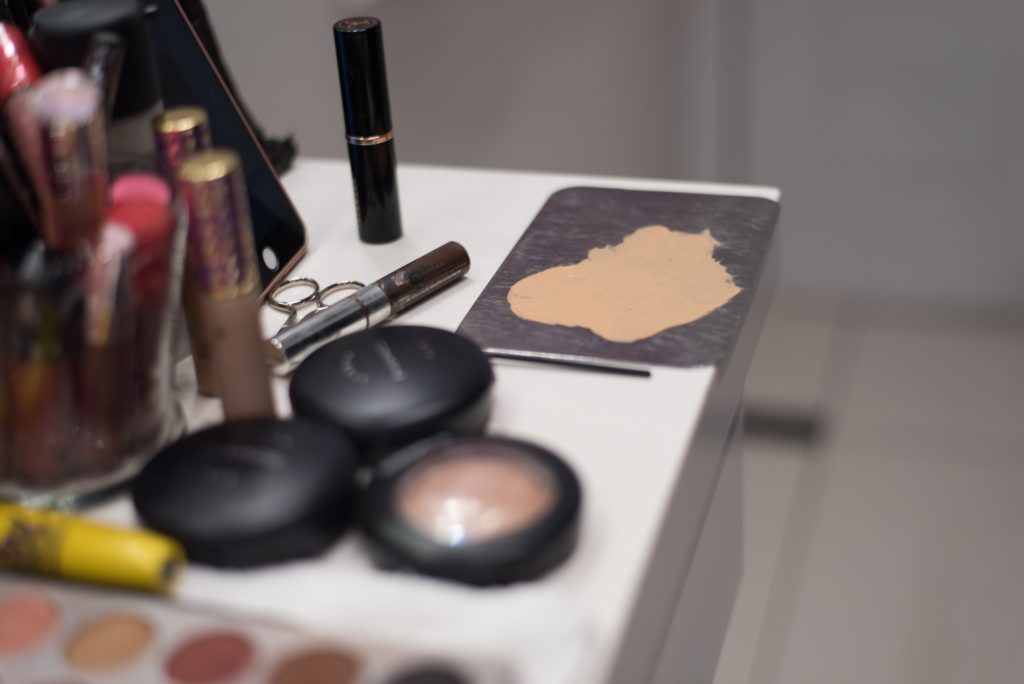
If you don’t have the perfect concealer, make it! Like most things it’s easier than you think. If you have two different concealer colors for different times of year, or for different issues, use them together to make a custom match.
Apply concealer over the whole lid, this will give your shadow something to “stick to”
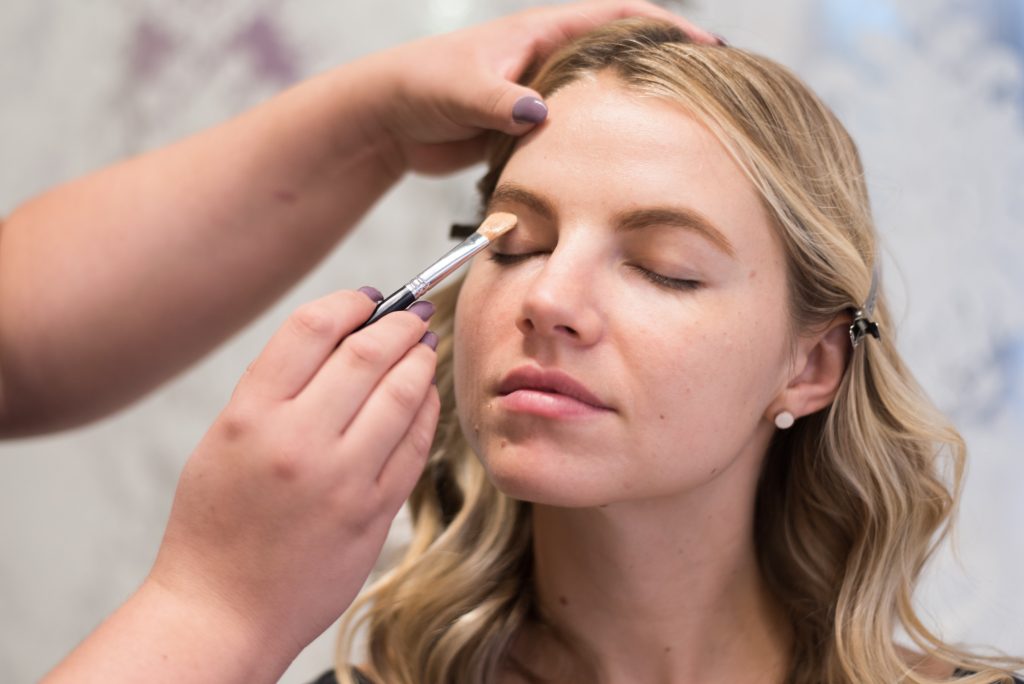
Choose a warm, medium to light brown shadow.
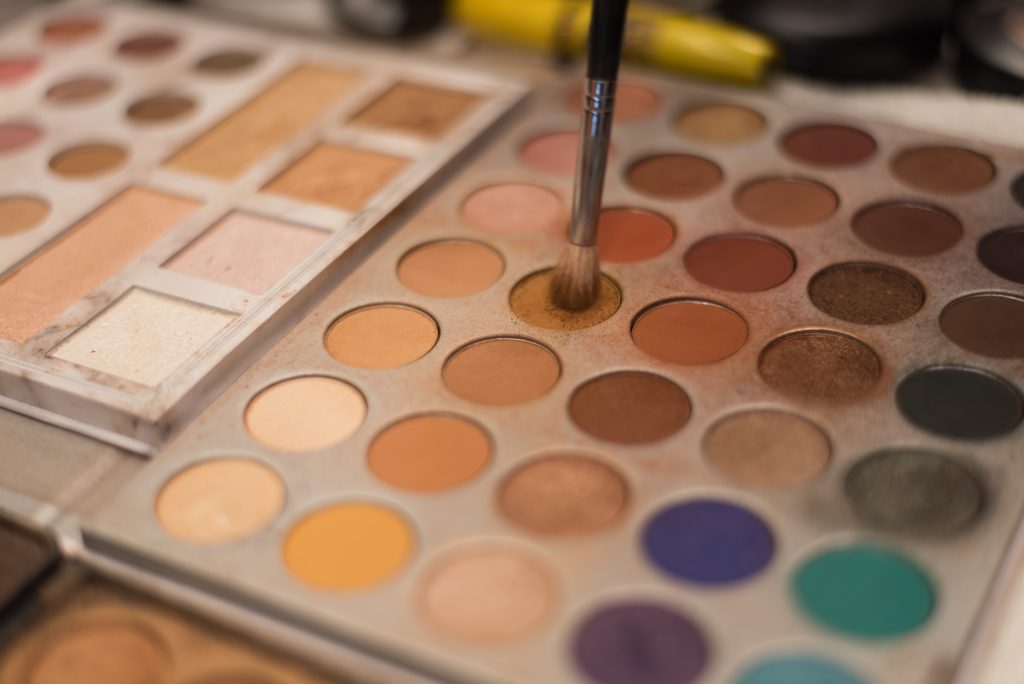
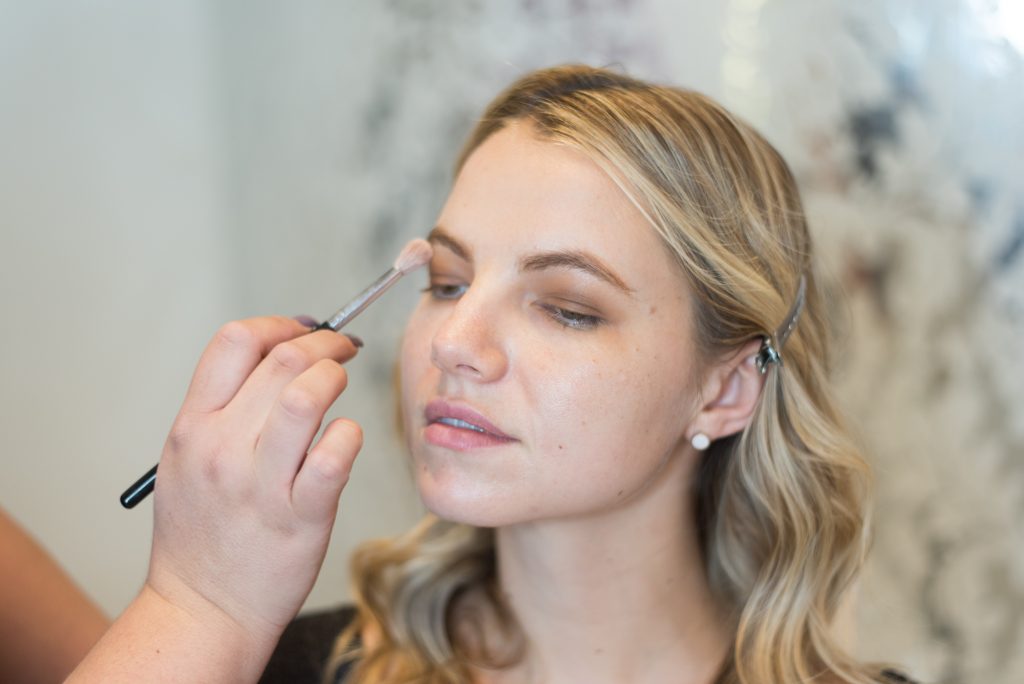
With a blending brush lightly go over your whole lid, blending in a circular motion to the crease of your eye. This works on all eye shapes.
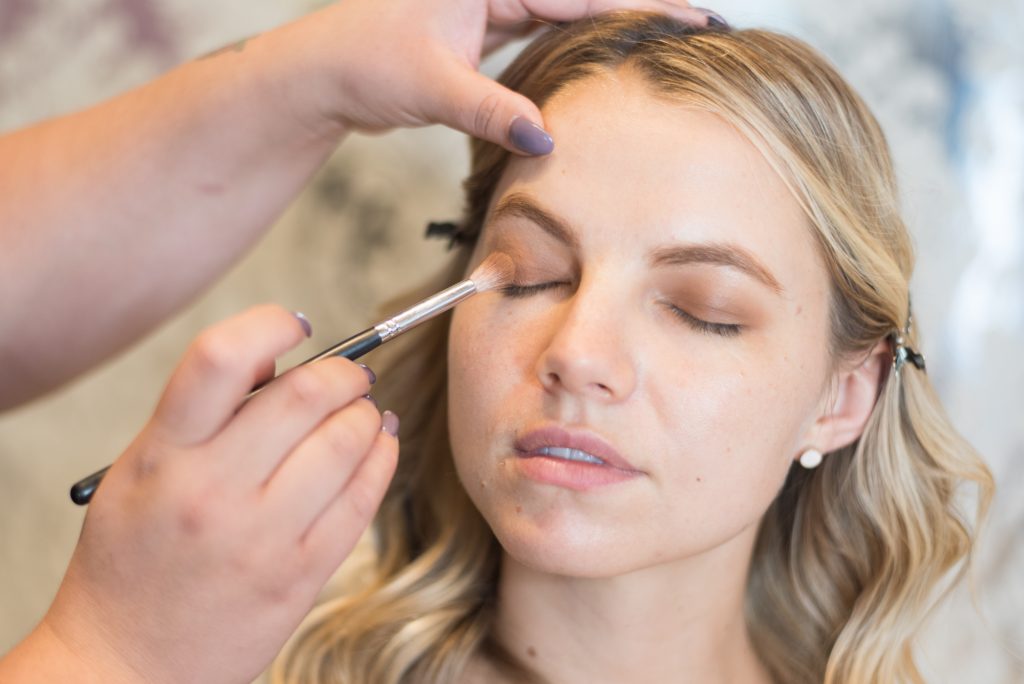
Apply a soft, light color on your brow bone under your eye brows.
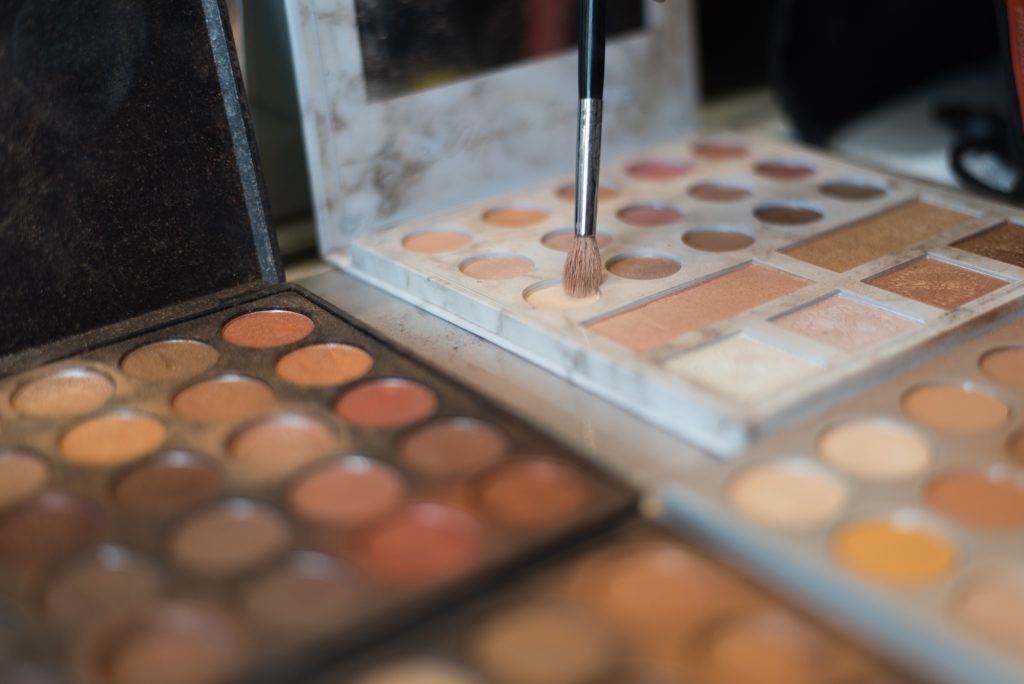
Make sure to blend, blend and blend some more! Blending really is the secret to all make-up.
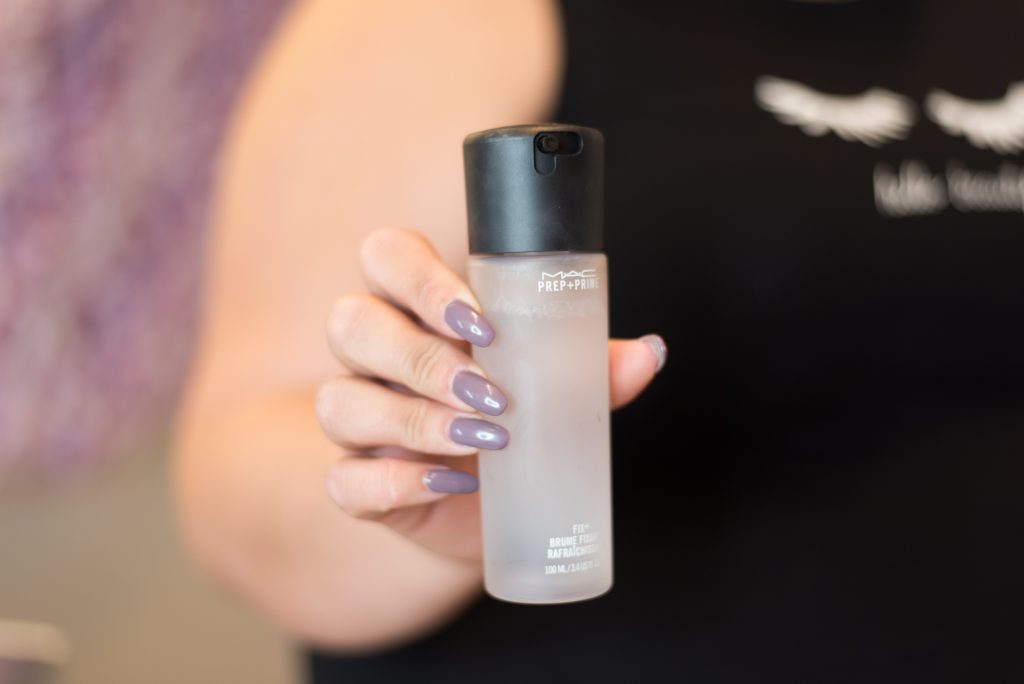
Before you add any foundation or concealer to your face, spray on a little prep and prime.
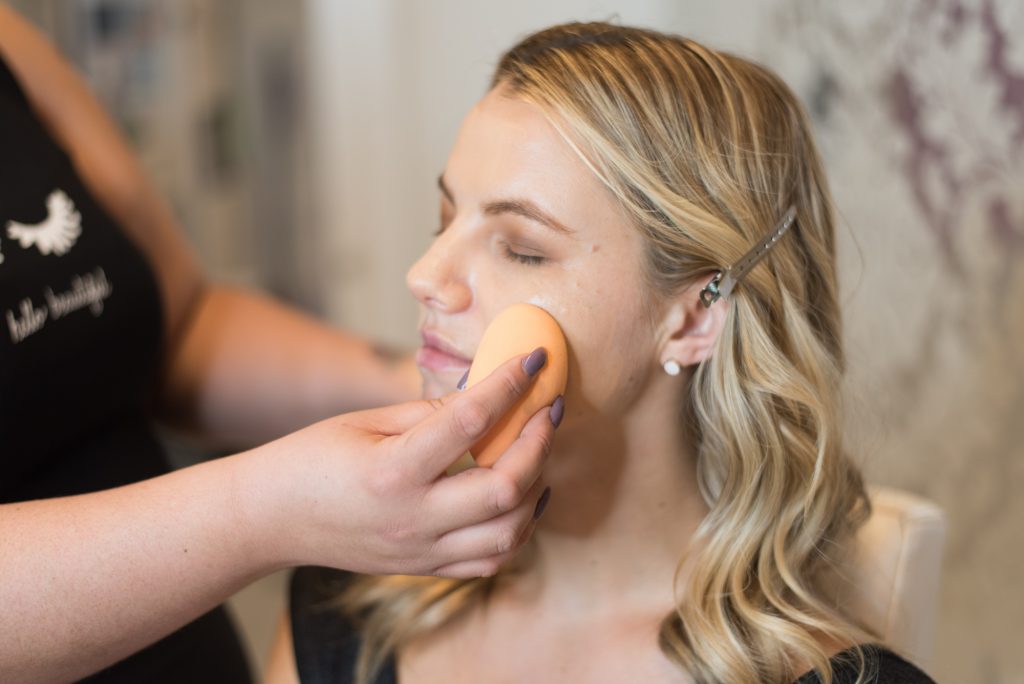
Apply foundation evenly over face. Don’t worry, we’re going to show you how to contour.
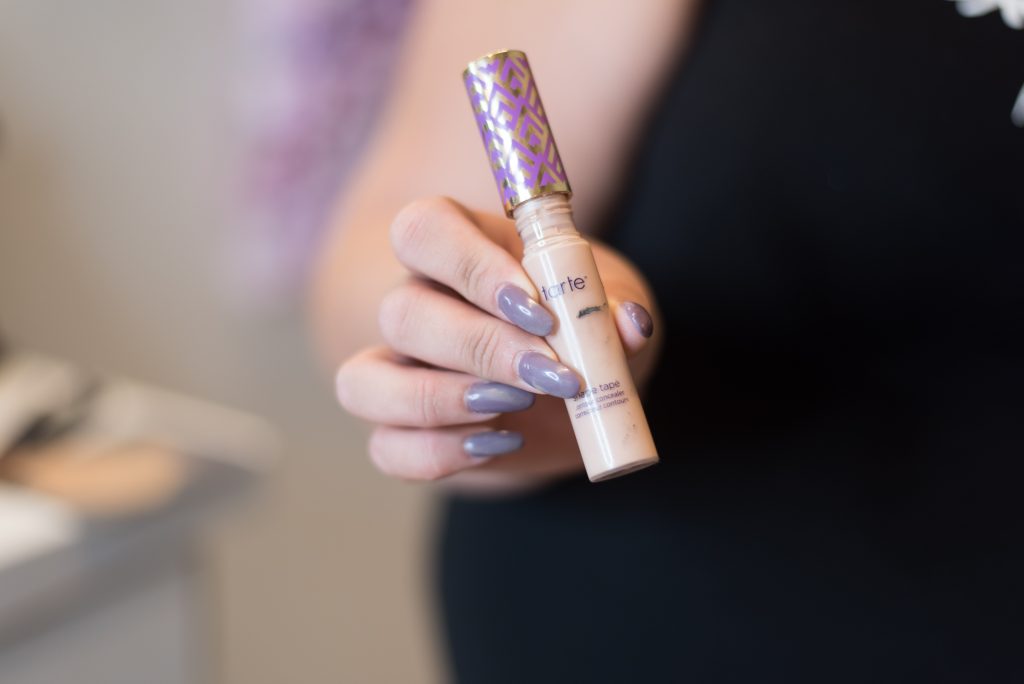
Apply concealer from under eyes to the apple of your cheek. NOTE: A common mistake is to only put concealer directly under the eye. If you’re still doing this, don’t do it anymore!
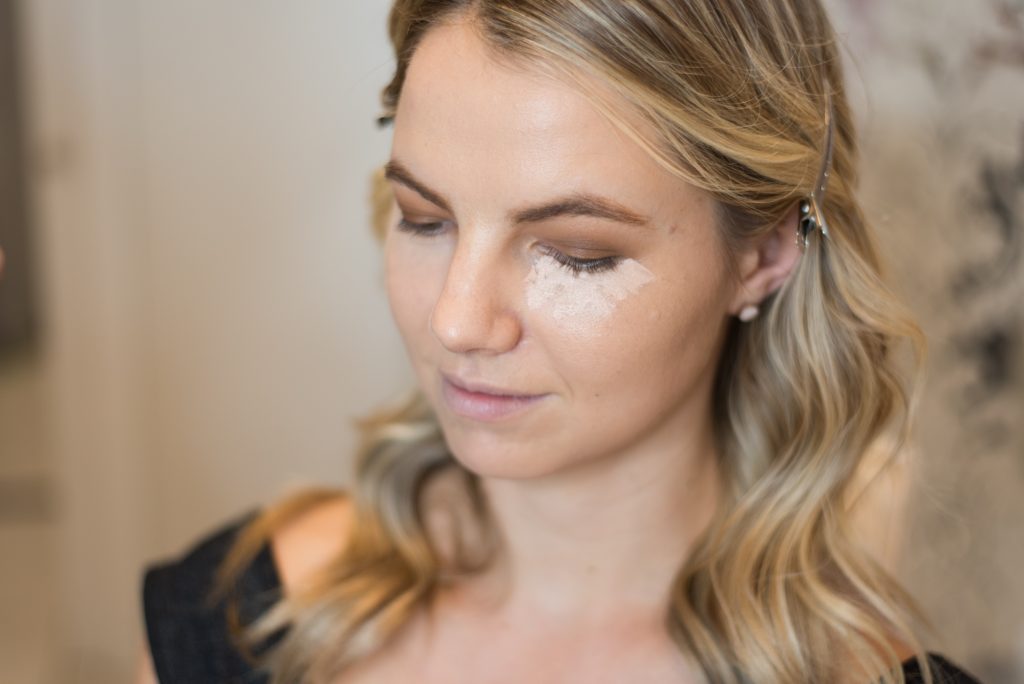
It’s time to blend some more! To blend your concealer into your foundation it’s best to make a small tapping motion. Don’t swipe! It pulls on the skin and can leave a unnatural texture on the skin.
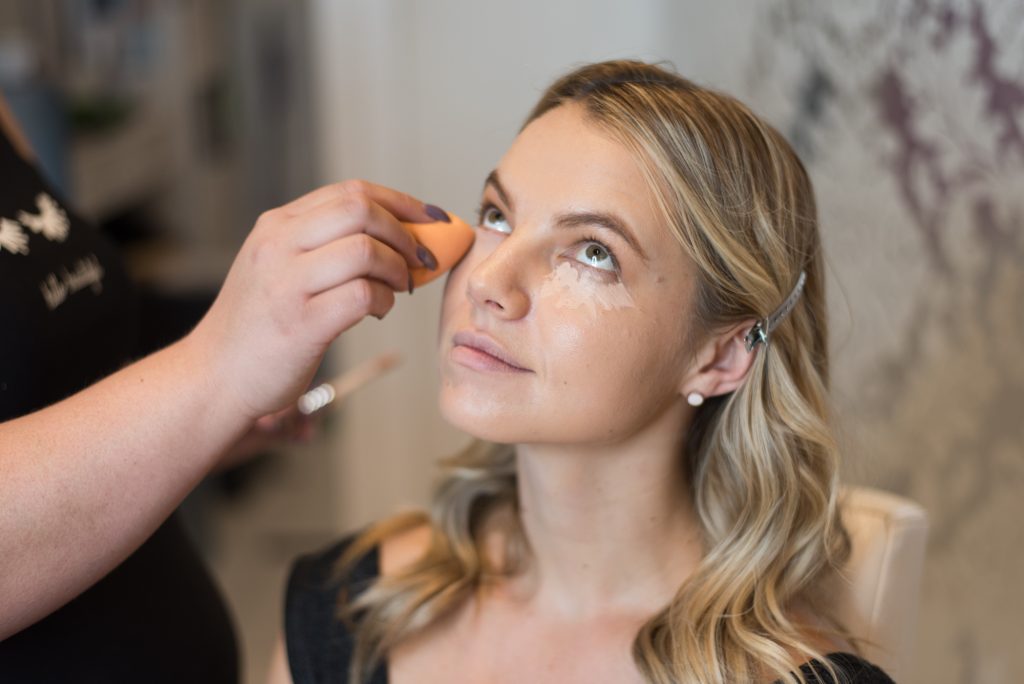
It’s time for bronzer….
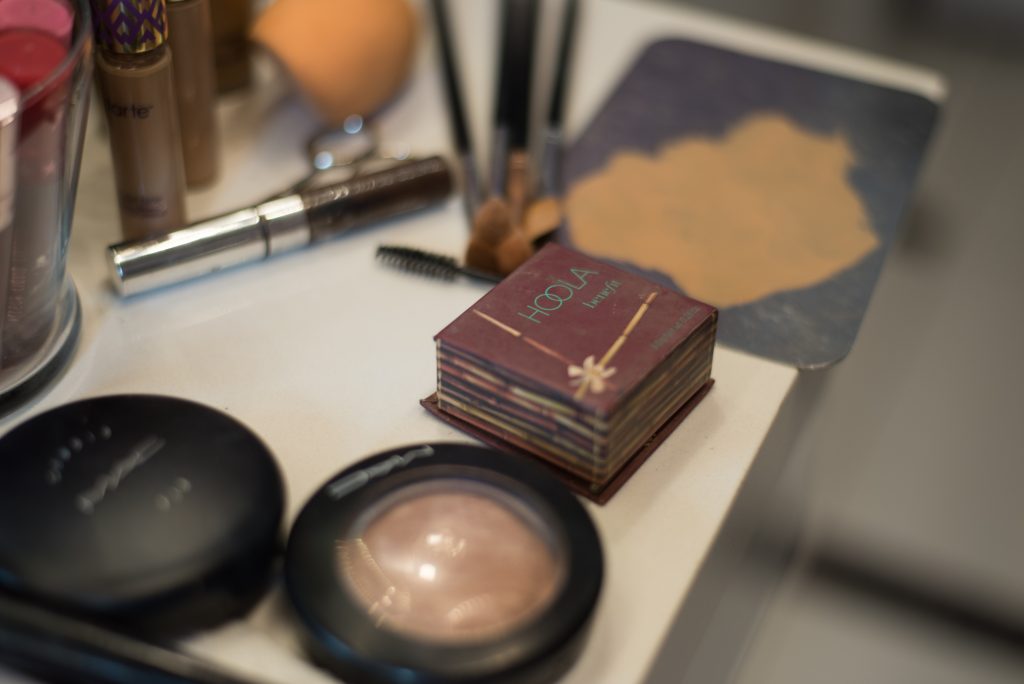
Ok, lets talk about subtle contouring. A little bronzer right under your cheek bone is all most women need. Don’t go crazy with the contour.
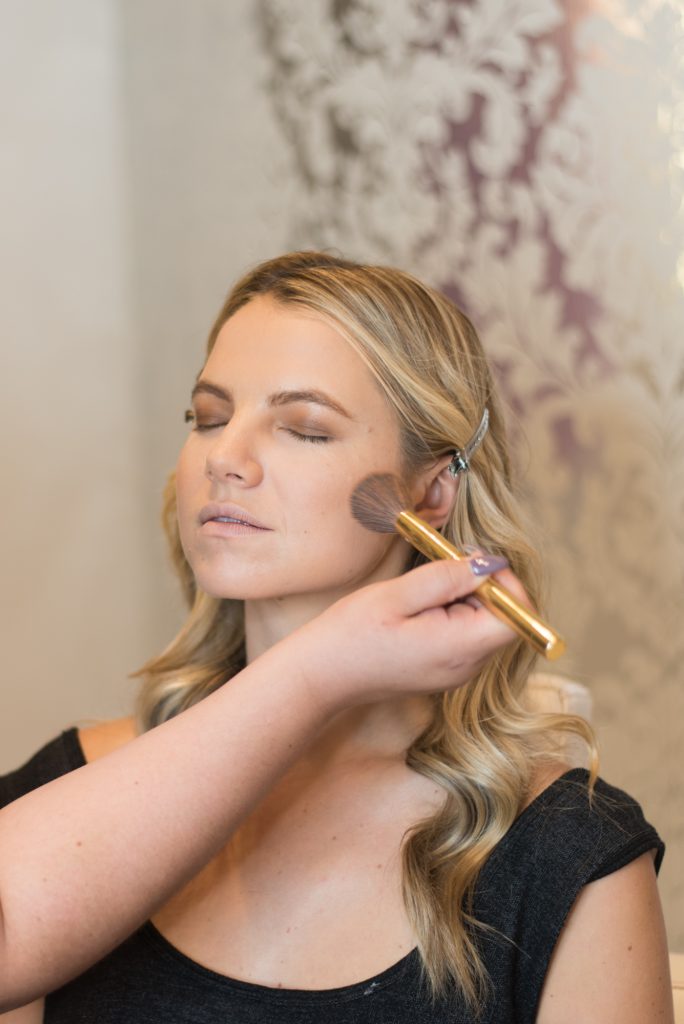
The other part of the perfect contour is highlighting. With a fan brush lightly add highlighter on the top of your cheek bone.
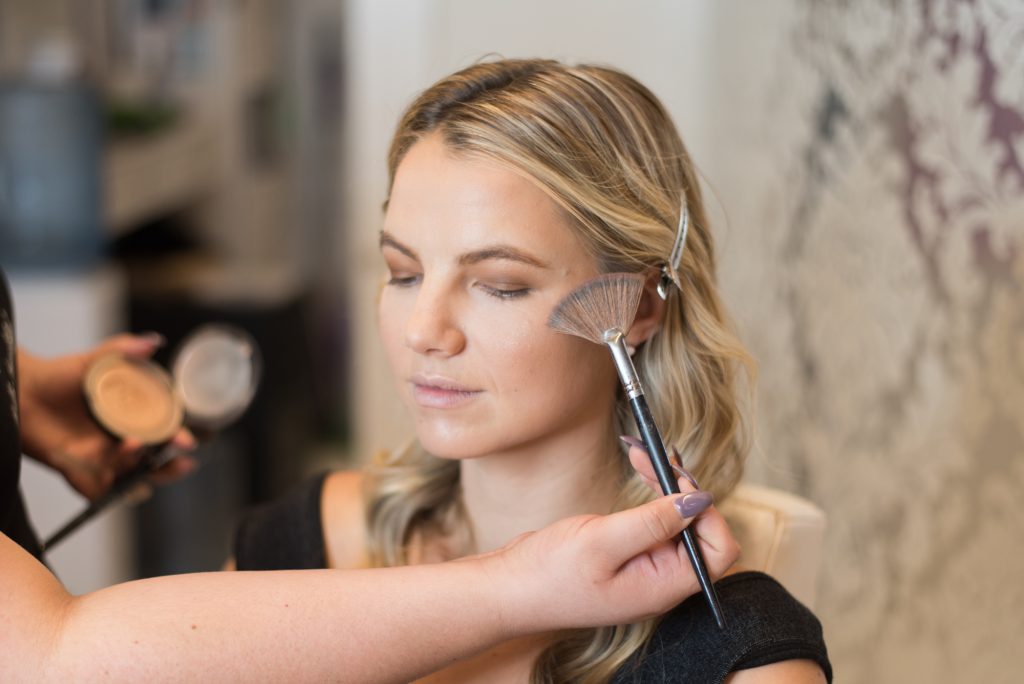
Now that your first layer of shadow has set, it’s time to go back to finish up the eyes. Smudge the same color shadow you put on your lid on your under lash line.
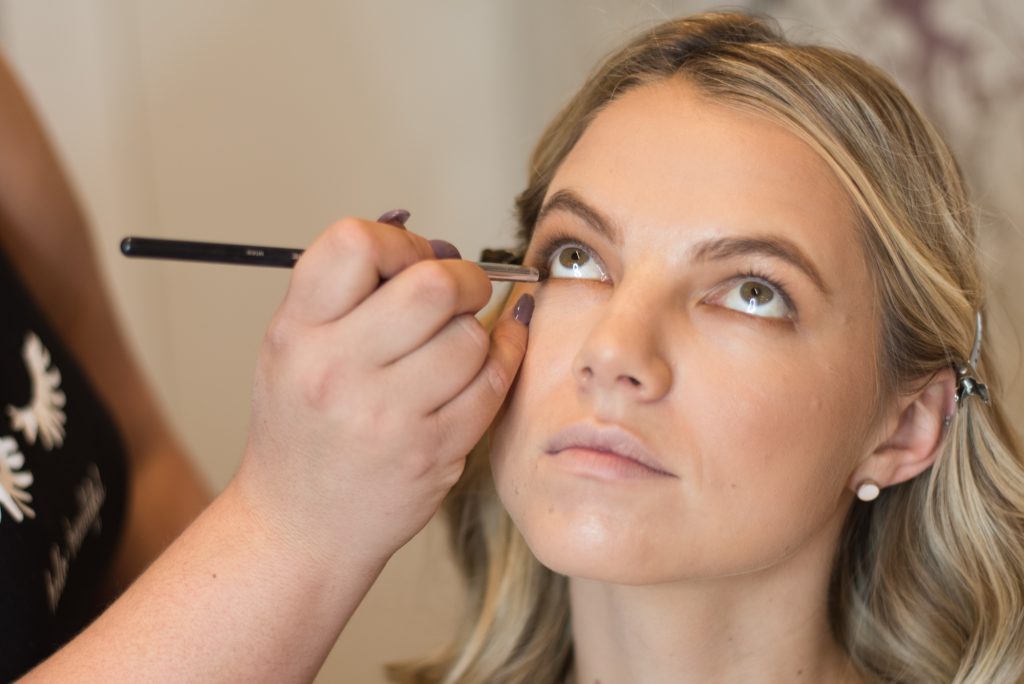
Also, smudge the same color shadow on the outer corner of your upper lash line. I know you’re thinking, why the same shadow again? Because, as you layer the shadow it changes color while being more subtle and natural.
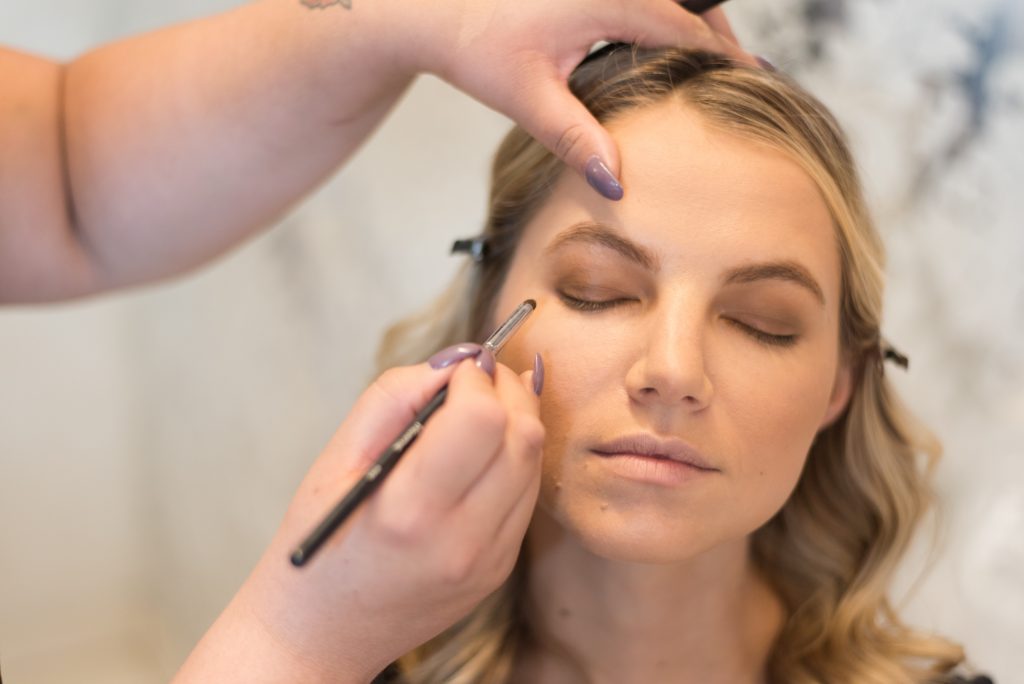
With another blending brush go over the whole lid again with the same color shadow… For the same reason I just gave you. Even though she looks like she has multiple colors on her lid she only has one.
Go over your lower your lash line with a blending brush. This will darken the shadow on the lash line while subtly making the bending away from the lash line softer.
Ok, this is really where having deep set eyes comes into play. Notice we didn’t put any eyeliner on the model. That’s because if you put eye liner on deep set eyes, it often makes the eyes look smaller. And no one wants that. So if you have large eyes or plenty of room between your lashes and crease, go ahead and add a little bit of eyeliner. I would suggest only one shade darker than the shadow.
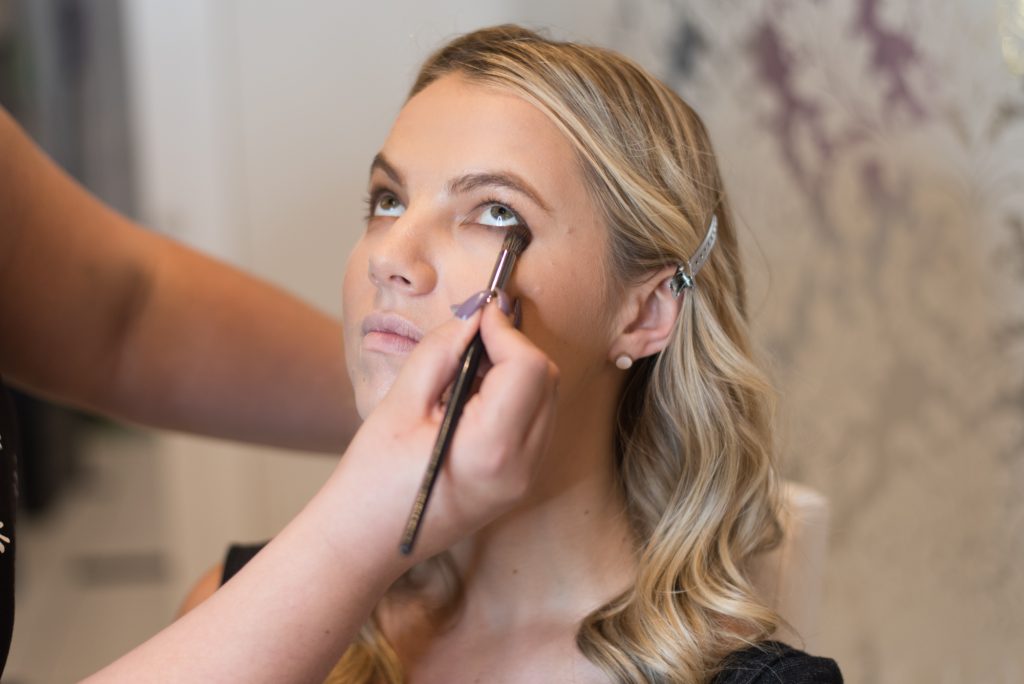
Add mascara…
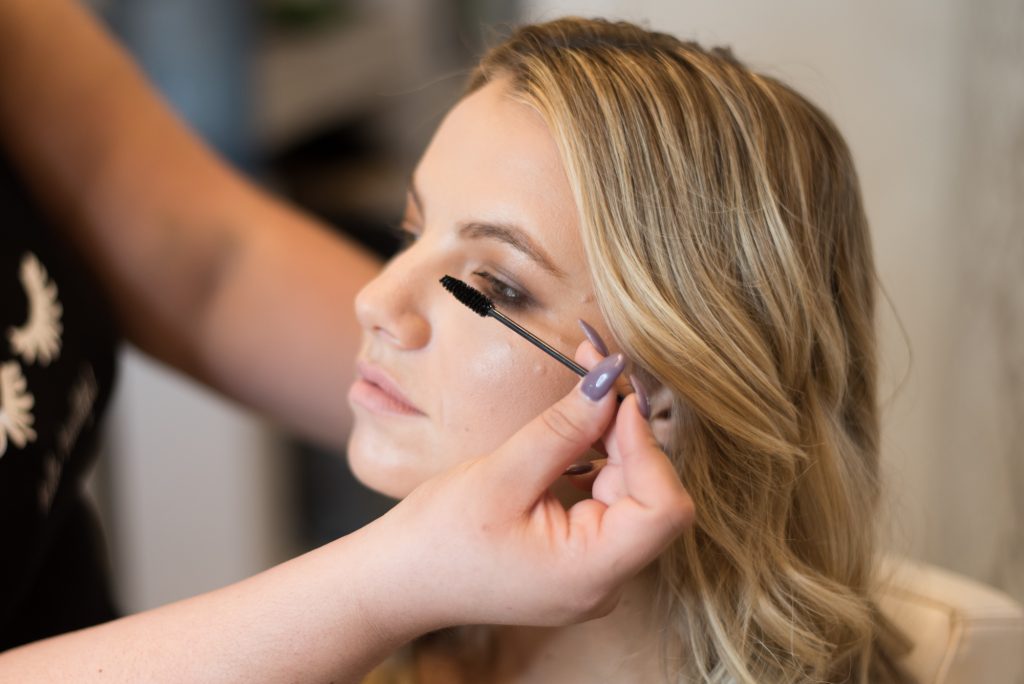
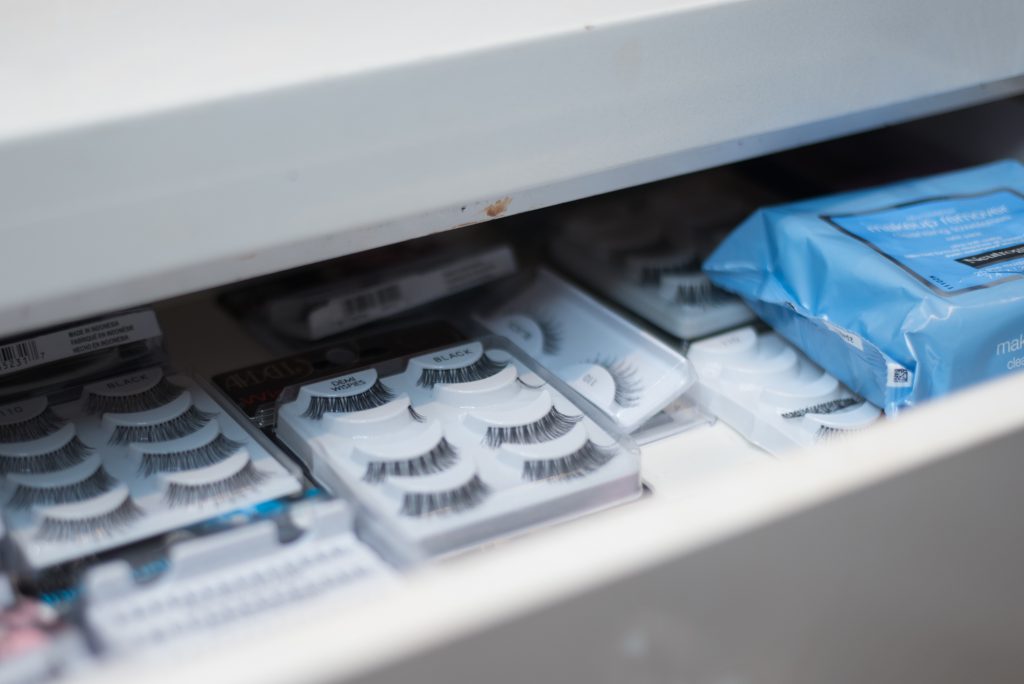
And lashes if you want.
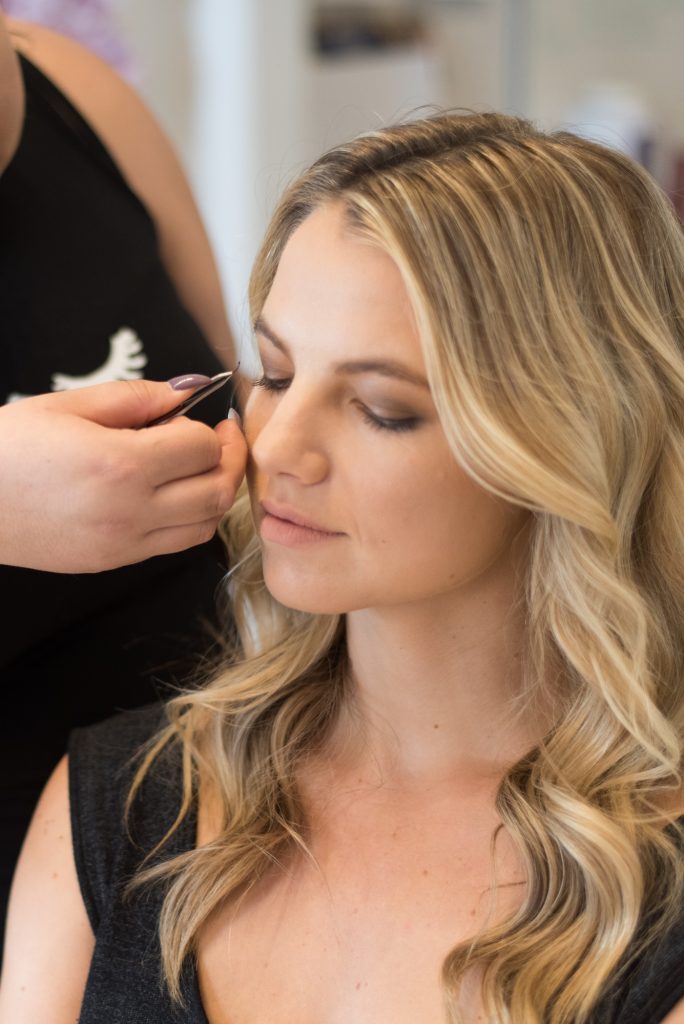
And there you have a soft smokey eye for deep set eyes.
